
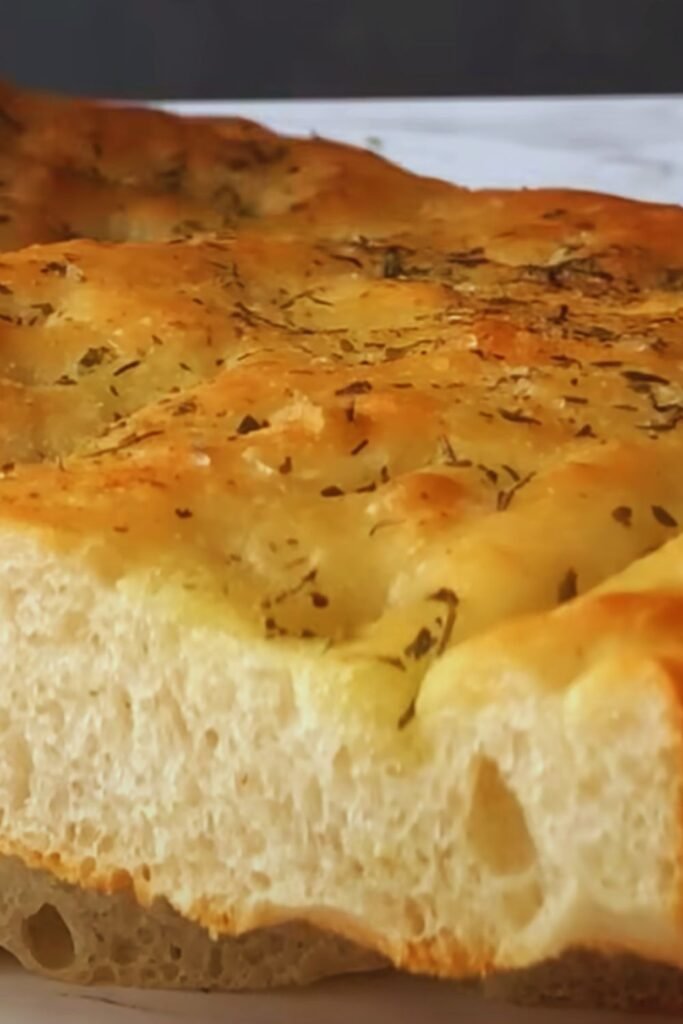
There’s something magical about the aroma of freshly baked bread wafting through your home. I’ve always believed that homemade rolls are the ultimate comfort food, but many recipes require hours of rising time. That’s why I’m excited to share my favorite One Hour Rosemary Garlic Dinner Rolls recipe with you today. These pillowy, herb-infused rolls have graced my dinner table countless times when I’ve been short on time but still craving that homemade touch.
Why You’ll Love These Quick Dinner Rolls
As someone who regularly hosts impromptu dinner gatherings, I’ve perfected these rolls through years of trial and error. The secret lies in the perfect balance of ingredients that allows the dough to rise quickly without sacrificing flavor or texture. Here’s why these rolls have become my go-to recipe:
- Ready in just one hour from start to finish
- Soft, pillowy interior with a slightly crisp exterior
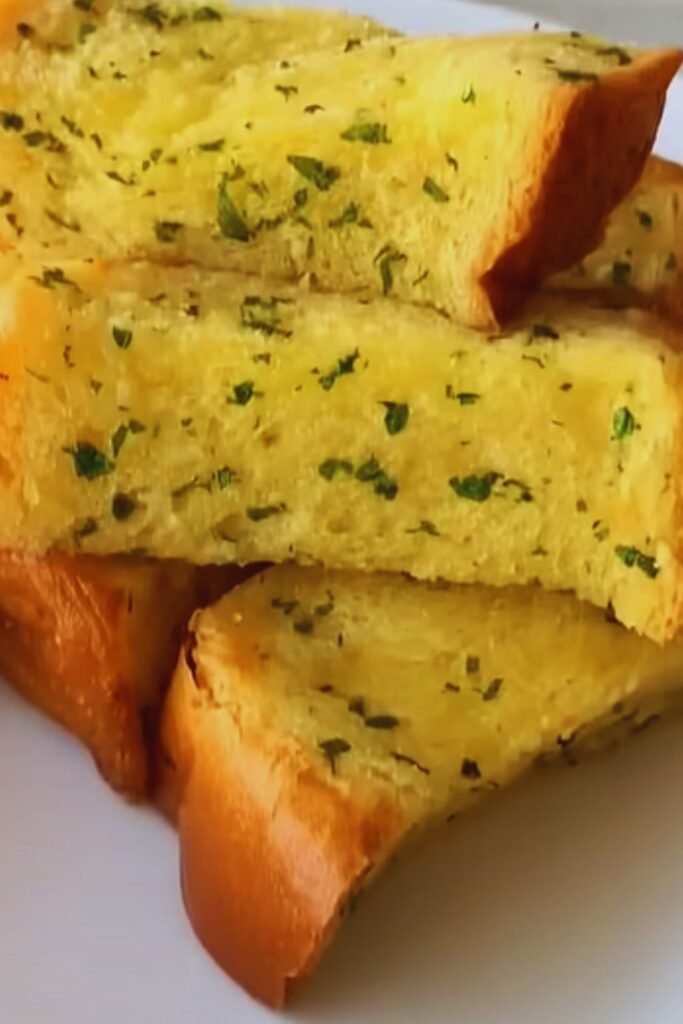
- Infused with fresh rosemary and garlic for incredible flavor
- Uses pantry staples you likely already have on hand
- Impressive enough for guests but simple enough for weeknights
- Freezes beautifully for make-ahead convenience
Ingredients You’ll Need
I’ve carefully selected each ingredient to ensure these rolls rise quickly while maintaining that homemade taste and texture. Here’s what you’ll need to gather:
| Ingredient | Amount | Notes |
|---|---|---|
| All-purpose flour | 3½ cups | Use unbleached for best results |
| Instant yeast | 2¼ teaspoons (1 packet) | Rapid-rise or instant works best for quick rises |
| Granulated sugar | 2 tablespoons | Helps activate the yeast quickly |
| Salt | 1½ teaspoons | Fine sea salt is my preference |
| Warm water | 1 cup | Should be around 110-115°F (warm but not hot) |
| Whole milk | ¼ cup | Slightly warmed |
| Unsalted butter | 4 tablespoons | Divided: 2 tablespoons melted for dough, 2 tablespoons for topping |
| Fresh rosemary | 1½ tablespoons | Finely chopped |
| Garlic | 4 cloves | Minced or pressed |
| Honey | 1 tablespoon | Adds a subtle sweetness |
| Flaky sea salt | ½ teaspoon | For sprinkling on top (optional) |
Essential Equipment
While this recipe doesn’t require any specialized equipment, having these basic tools will make the process smoother:
- Large mixing bowl
- Wooden spoon
- Measuring cups and spoons
- 9×13 inch baking pan
- Pastry brush
- Clean kitchen towel
- Sharp knife or bench scraper for dividing dough
Step-by-Step Instructions

Preparing the Dough
- Activate the yeast: In a large bowl, combine the warm water (110-115°F), sugar, and instant yeast. Let it sit for about 5 minutes until frothy. If your mixture doesn’t foam, your yeast might be expired or your water was too hot, so you’ll need to start over.
- Add wet ingredients: Stir in the warm milk, 2 tablespoons of melted butter, and honey until well combined.
- Incorporate dry ingredients: Add 3 cups of flour, salt, 1 tablespoon of chopped rosemary, and 3 cloves of minced garlic. Mix until a shaggy dough forms.
- Knead the dough: Turn the dough onto a floured surface and knead for 3-5 minutes, adding the remaining ½ cup of flour as needed until the dough is smooth and elastic. The dough should be slightly tacky but not sticky.
- First quick rise: Place the dough in a lightly oiled bowl, cover with a clean kitchen towel, and set in a warm spot for 15 minutes. I often turn my oven on for just 1 minute, then turn it off and place the bowl inside to create a warm environment.
Shaping and Second Rise
- Prepare the pan: While the dough is rising, lightly grease a 9×13 inch baking pan with cooking spray or butter.
- Divide the dough: After the first rise, punch down the dough gently and divide it into 12 equal pieces. I find using a bench scraper makes this much easier.
- Shape the rolls: Roll each piece into a ball by pulling the edges toward the center and pinching them together, then rolling between your palms to create a smooth surface. Place each ball, seam side down, in the prepared baking pan.
- Second quick rise: Cover the pan with a kitchen towel and let the rolls rise for another 15 minutes in a warm spot. They won’t quite double in size, but they should puff up noticeably.
Baking to Perfection
- Preheat the oven: While the rolls are on their second rise, preheat your oven to 400°F (200°C).
- Prepare the garlic butter topping: In a small bowl, mix the remaining 2 tablespoons of melted butter with the remaining minced garlic clove and ½ tablespoon of chopped rosemary.
- Apply the topping: Just before baking, brush the rolls with the garlic-rosemary butter mixture and sprinkle with flaky sea salt if desired.
- Bake: Place the pan in the preheated oven and bake for 18-20 minutes, or until the rolls are golden brown on top and sound hollow when tapped on the bottom.
- Cool slightly: Allow the rolls to cool in the pan for 5 minutes before serving. This cooling time helps the texture set properly.
Tips for Perfect Rolls Every Time
Over the years, I’ve discovered several tricks that make these quick dinner rolls foolproof:
- Check your yeast: Always make sure your yeast is fresh. Expired yeast won’t give you that quick rise you need.
- Temperature matters: The water should be warm (110-115°F), not hot. Too hot will kill the yeast, too cool won’t activate it properly.
- Create a warm environment: For the fastest rise, place your covered dough in a warm, draft-free area. My favorite trick is to turn on the oven light and place the dough inside the oven (not turned on) with the door closed.
- Don’t overwork the dough: Knead just until the dough becomes smooth and elastic. Overworking can lead to tough rolls.
- Dividing evenly: To get perfectly uniform rolls, I weigh the entire dough ball and then divide by 12 to determine the weight for each individual roll.
- Add flavor variations: Feel free to experiment with different herbs like thyme or sage instead of rosemary, or add grated Parmesan cheese to the dough for an extra flavor dimension.
Troubleshooting Common Issues
| Problem | Possible Cause | Solution |
|---|---|---|
| Rolls didn’t rise enough | Yeast was old or water too hot/cold | Check yeast expiration date; use thermometer for water |
| Dough is too sticky | Not enough flour | Add flour 1 tablespoon at a time while kneading |
| Dough is too dry | Too much flour | Add warm water 1 teaspoon at a time |
| Rolls are dense | Under-proofed or over-kneaded | Ensure proper rising time; knead just until smooth |
| Uneven browning | Oven hot spots | Rotate pan halfway through baking |
| Burnt garlic taste | Garlic butter applied too early | Apply garlic butter just before baking |
Make-Ahead and Storage Options
These rolls are perfect for planning ahead:
Make-Ahead Options:
- Refrigerate the shaped dough: After shaping the rolls, cover the pan tightly with plastic wrap and refrigerate for up to 24 hours. When ready to bake, let them sit at room temperature for 30 minutes before baking.
- Freeze after baking: Cool completely, then wrap individual rolls in plastic wrap and place in a freezer bag. Freeze for up to 3 months. Thaw at room temperature and warm in a 300°F oven for 5-10 minutes.
- Freeze the dough: After shaping into balls, place on a baking sheet and freeze until solid. Transfer frozen dough balls to a freezer bag. When ready to bake, arrange in a baking pan and let thaw and rise at room temperature for about 3-4 hours before baking.
Storage Tips:
- Store completely cooled rolls in an airtight container at room temperature for up to 2 days.
- For longer storage, refrigerate for up to 1 week.
- To refresh day-old rolls, sprinkle with a few drops of water and heat in a 300°F oven for 5-7 minutes.
Serving Suggestions
These versatile rolls complement nearly any meal. Here are some of my favorite ways to serve them:
- Alongside hearty soups and stews for dipping
- With roasted chicken and vegetables for a complete Sunday dinner
- As sandwiches for leftover holiday meats
- Paired with pasta dishes to soak up extra sauce
- Cut in half and toasted with butter for breakfast
- As a side for salads to make a light meal more substantial
For a special touch, I sometimes prepare a compound butter to serve alongside:
- Mix softened butter with fresh herbs, garlic, and a pinch of salt
- Honey butter with a sprinkle of sea salt
- Whipped butter with roasted garlic
Nutritional Information
For those keeping track of nutritional values, here’s an approximate breakdown per roll:
| Nutrient | Amount per Roll |
|---|---|
| Calories | 175 |
| Total Fat | 4.5g |
| Saturated Fat | 2.5g |
| Cholesterol | 10mg |
| Sodium | 295mg |
| Total Carbohydrates | 29g |
| Dietary Fiber | 1g |
| Sugars | 3g |
| Protein | 4g |
Please note: These values are estimates and may vary based on specific ingredients used.
Frequently Asked Questions
Can I use active dry yeast instead of instant yeast? Yes, but you’ll need to proof it first in the warm water and sugar for 5-10 minutes until foamy before adding the other ingredients. Your total time might increase by a few minutes.
Is it possible to make these rolls whole wheat? Absolutely! You can substitute up to half of the all-purpose flour with whole wheat flour. The rolls will be slightly denser but still delicious. You might need to add 1-2 extra tablespoons of liquid since whole wheat flour absorbs more moisture.
Can I make these dairy-free? Yes! Replace the milk with unsweetened almond milk or another non-dairy milk, and use a plant-based butter alternative for the same amount.
Why are my rolls not as fluffy as they should be? This could be due to over-kneading, not enough rising time, or flour with low protein content. Try extending the rise time by 5-10 minutes and make sure you’re kneading just until the dough becomes smooth.
Can I add cheese to these rolls? Definitely! Fold in 3/4 cup of shredded cheese (Parmesan, cheddar, or Gruyère work wonderfully) when you add the dry ingredients. You can also sprinkle some on top before baking.
How can I tell when the rolls are done baking? The rolls should be golden brown on top and have an internal temperature of about 190°F. If you don’t have a thermometer, tap the bottom of a roll—it should sound hollow.
Can this recipe be doubled? Yes! Double all ingredients and either use two 9×13 pans or one large sheet pan. The rising and baking times should remain approximately the same.
Why These Rolls Hold a Special Place in My Kitchen
I first developed this recipe when hosting an impromptu dinner party. With just an hour until guests arrived and no bread to serve with my pasta, I needed a quick solution. After some experimenting and refining over many dinner parties, these rolls have become my signature dish—the one friends always request when they come over.
What I love most about this recipe is how it transforms simple ingredients into something that tastes like it took hours to make. The combination of fresh rosemary and garlic creates an aroma that fills the house and instantly makes any meal feel special.
Even on busy weeknights, taking the small amount of time to make these rolls elevates dinner from ordinary to extraordinary. There’s something deeply satisfying about placing a basket of warm, fragrant rolls on the table and watching everyone’s eyes light up.
Whether you’re an experienced baker or just starting out, I hope these One Hour Rosemary Garlic Dinner Rolls find a place in your recipe collection. They’re proof that homemade bread doesn’t have to be an all-day project—sometimes the best things in life can be ready in just an hour.
