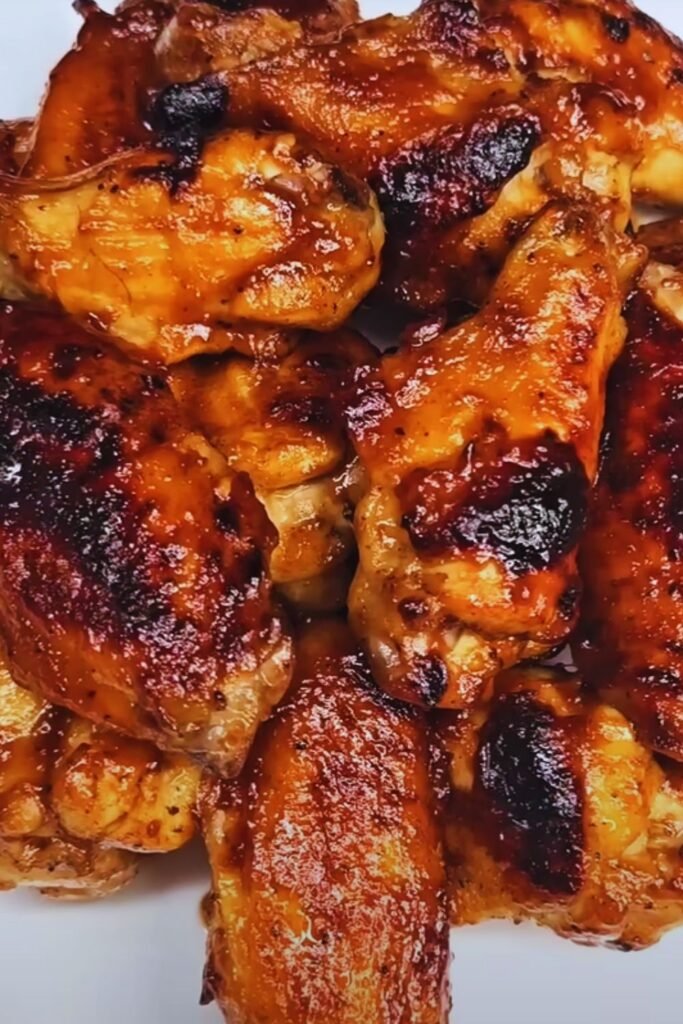
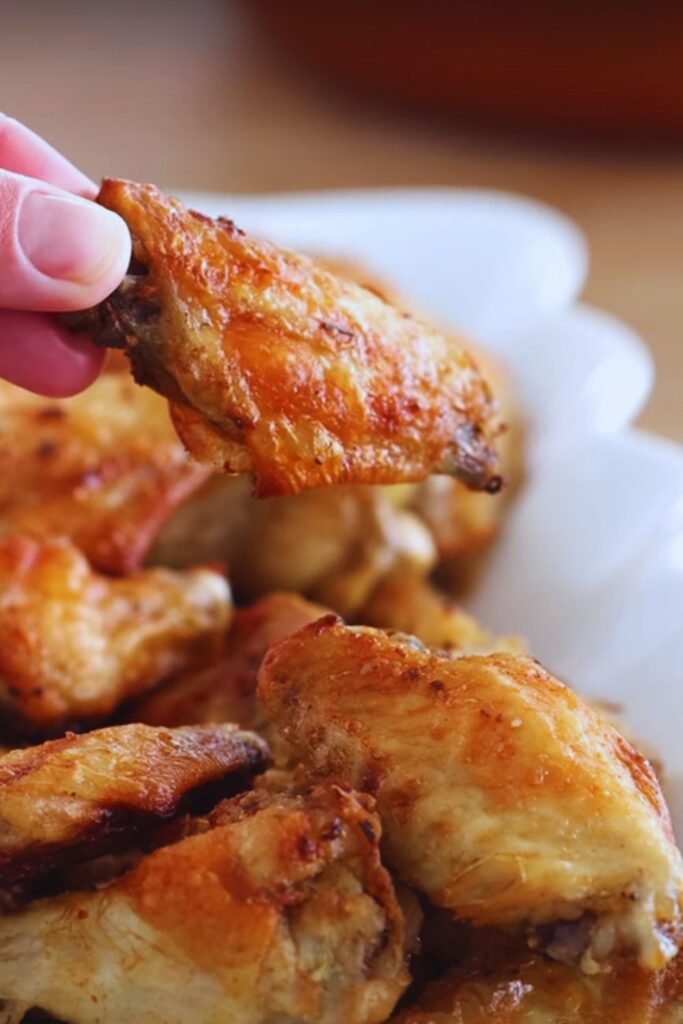
There’s something magical about biting into a perfectly crispy chicken wing. As someone who’s spent countless hours perfecting wing recipes in my kitchen, I can tell you that achieving that restaurant-quality crunch doesn’t require a deep fryer. Today, I’m sharing my foolproof method for creating incredibly crispy, juicy baked chicken wings that will have your guests convinced they came from their favorite wing spot.
Why You’ll Love This Recipe
After testing dozens of methods and serving these wings at countless gatherings, I’ve discovered that baked wings can actually outshine their fried counterparts. They’re healthier, less messy to prepare, and when done right, deliver that perfect crispy exterior while keeping the meat incredibly juicy.
The Science Behind Crispy Baked Wings
Let’s get technical for a moment. The secret to achieving ultra-crispy skin lies in two crucial factors: moisture removal and proper heat exposure. Through extensive testing in my kitchen, I’ve found that drying the wings thoroughly and using a specific temperature progression creates the perfect environment for crispy skin development.
Essential Equipment
Before we dive into the recipe, let’s ensure you have everything needed for success:
| Equipment | Purpose | Recommended Type |
|---|---|---|
| Wire Rack | Elevates wings for even cooking | Stainless steel, oven-safe |
| Baking Sheet | Catches drippings | Heavy-duty aluminum |
| Paper Towels | Drying wings | Highly absorbent |
| Mixing Bowls | Seasoning preparation | Various sizes |
| Tongs | Handling wings | Silicone-tipped |
| Meat Thermometer | Temperature checking | Digital instant-read |
The Perfect Wing Recipe
Ingredients
For the Wings:
- 4 pounds chicken wings, separated into flats and drums
- 2 tablespoons baking powder (aluminum-free)
- 1 teaspoon kosher salt
- 1 teaspoon black pepper
- 1/2 teaspoon garlic powder
- 1/2 teaspoon paprika
Nutritional Information
| Nutrient | Amount per Serving |
|---|---|
| Calories | 290 |
| Protein | 27g |
| Fat | 19g |
| Carbohydrates | 1g |
| Sodium | 420mg |
| Fiber | 0g |
Step-by-Step Instructions
- Preparation (24 hours ahead):
- Pat wings completely dry with paper towels
- Place wings on a wire rack
- Refrigerate uncovered for 12-24 hours
- Day of Cooking:
- Preheat oven to 250°F (121°C)
- Mix baking powder and seasonings
- Coat wings evenly with mixture
- First Bake:
- Arrange wings on wire rack over baking sheet
- Bake at 250°F for 30 minutes
- This step renders fat slowly
- Second Bake:
- Increase temperature to 425°F (218°C)
- Cook for 40-50 minutes
- Flip wings halfway through

Time Breakdown
| Stage | Duration | Temperature |
|---|---|---|
| Drying | 12-24 hours | Refrigerator temp |
| Initial Bake | 30 minutes | 250°F |
| Final Bake | 40-50 minutes | 425°F |
| Resting | 5 minutes | Room temp |
Sauce Variations
I’ve experimented with numerous sauce combinations. Here are my top recommendations:
Classic Buffalo
- 1/2 cup melted butter
- 2/3 cup hot sauce
- 1 tablespoon honey
- 1 teaspoon garlic powder
Asian-Inspired Glaze
- 1/2 cup hoisin sauce
- 2 tablespoons soy sauce
- 1 tablespoon sesame oil
- 1 tablespoon grated ginger
- 2 cloves minced garlic
Garlic Parmesan
- 1/2 cup melted butter
- 4 cloves minced garlic
- 1/2 cup grated parmesan
- 1 tablespoon Italian herbs
Serving Suggestions
These wings pair perfectly with:
- Fresh celery and carrot sticks
- Blue cheese or ranch dressing
- Crispy sweet potato fries
- Fresh garden salad
- Homemade coleslaw
Storage and Reheating
| Storage Method | Duration | Temperature |
|---|---|---|
| Refrigerator | Up to 4 days | 40°F or below |
| Freezer | Up to 3 months | 0°F or below |
To reheat:
- Preheat oven to 350°F
- Place wings on wire rack
- Heat for 10-15 minutes
- Broil for 2-3 minutes to re-crisp
Troubleshooting Guide
| Issue | Cause | Solution |
|---|---|---|
| Wings not crispy | Excess moisture | Dry thoroughly, use baking powder |
| Too salty | Too much seasoning | Reduce baking powder/salt ratio |
| Undercooked | Insufficient time | Use meat thermometer, cook to 165°F |
| Burnt spots | Hot spots in oven | Rotate pan, adjust rack position |
Common Questions & Answers
Q: Why use baking powder?
The alkaline nature of baking powder breaks down proteins in the chicken skin, leading to better browning and crisping.
Q: Can I use frozen wings?
Yes, but thaw completely and dry thoroughly before proceeding with the recipe.
Q: How do I know when they’re done?
Internal temperature should reach 165°F (74°C) at the thickest part.
Q: Can I make these ahead of time?
Yes! Follow the storage guidelines above and reheat just before serving.
Q: Why start at a lower temperature?
The low-and-slow start renders fat gradually, leading to crispier skin.
Q: Are these healthier than fried wings?
Yes, they contain significantly less oil while maintaining the crispy texture.
Pro Tips from My Kitchen
- Quality Matters:
- Choose fresh, not frozen wings when possible
- Look for medium-sized wings for even cooking
- Organic chicken often yields better results
- Temperature Control:
- Use an oven thermometer for accuracy
- Allow wings to come to room temperature before baking
- Don’t skip the temperature progression
- Sauce Application:
- Toss wings in sauce immediately before serving
- Reserve extra sauce for dipping
- Consider serving sauces on the side
Remember, perfect wings come from attention to detail and patience. Don’t rush the process, and you’ll be rewarded with restaurant-quality wings right from your own oven. Happy cooking!