There’s something magical about the combination of tender chicken, melted cheese, and garlic that makes my heart sing. Today, I’m excited to share my favorite recipe for Cheesy Garlic Chicken Wraps – a dish that’s become a regular in my weekly meal rotation. These wraps are the perfect balance of comfort food and convenience, ideal for busy weeknights or casual weekend lunches.
Why You’ll Love This Recipe
As someone who’s made these wraps countless times, I can tell you they’re a guaranteed crowd-pleaser. The garlicky chicken, gooey cheese, and crispy tortilla create an irresistible combination that even picky eaters can’t resist. What I particularly love is how versatile they are – you can prep the ingredients ahead of time and customize them to your taste preferences.
Kitchen Equipment Needed
- Large skillet or griddle
- Cutting board
- Sharp knife
- Measuring spoons and cups
- Mixing bowls
- Cheese grater (if using block cheese)
- Tongs
- Aluminum foil (for keeping wraps warm)
Ingredients
For the Garlic Chicken:
- 2 pounds boneless, skinless chicken breasts, cut into strips
- 6 cloves garlic, minced
- 3 tablespoons olive oil
- 2 teaspoons Italian seasoning
- 1 teaspoon paprika
- 1/2 teaspoon black pepper
- 1 teaspoon sea salt
- 1/4 cup fresh parsley, chopped
For the Wraps:
- 8 large flour tortillas (10-inch)
- 3 cups shredded mozzarella cheese
- 1 cup shredded cheddar cheese
- 2 cups fresh spinach leaves
- 1 cup cherry tomatoes, halved
- 1/2 red onion, thinly sliced
For the Garlic Sauce:
- 1/2 cup Greek yogurt
- 3 cloves garlic, minced
- 2 tablespoons fresh lemon juice
- 1 tablespoon olive oil
- Salt and pepper to taste
Nutritional Information (per wrap)
| Nutrient | Amount |
|---|---|
| Calories | 520 |
| Protein | 38g |
| Carbohydrates | 42g |
| Fat | 24g |
| Fiber | 3g |
| Sodium | 890mg |
| Sugar | 2g |
Step-by-Step Instructions
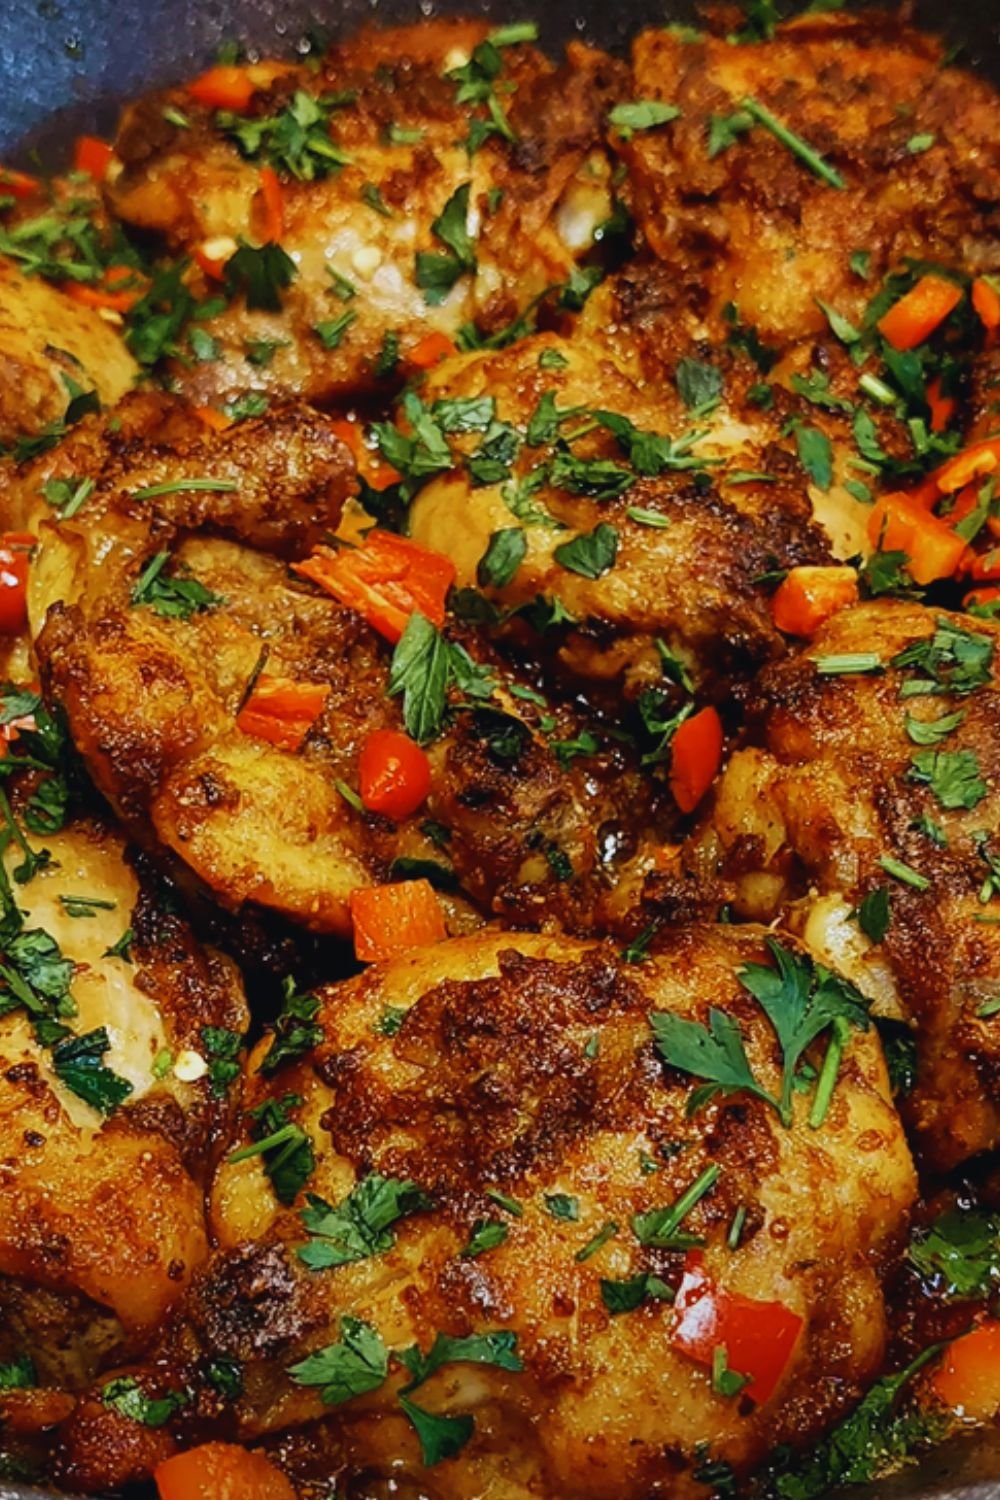
Preparing the Chicken
- In a large bowl, combine olive oil, minced garlic, Italian seasoning, paprika, salt, and pepper.
- Add chicken strips to the bowl and toss until well coated.
- Let marinate for at least 15 minutes (or up to 4 hours in the refrigerator).
- Heat a large skillet over medium-high heat.
- Cook chicken strips for 6-8 minutes, turning occasionally, until golden brown and cooked through.
- Sprinkle with fresh parsley and set aside.

Making the Garlic Sauce
- In a small bowl, combine Greek yogurt, minced garlic, lemon juice, and olive oil.
- Whisk until smooth and well combined.
- Season with salt and pepper to taste.
- Refrigerate until ready to use.
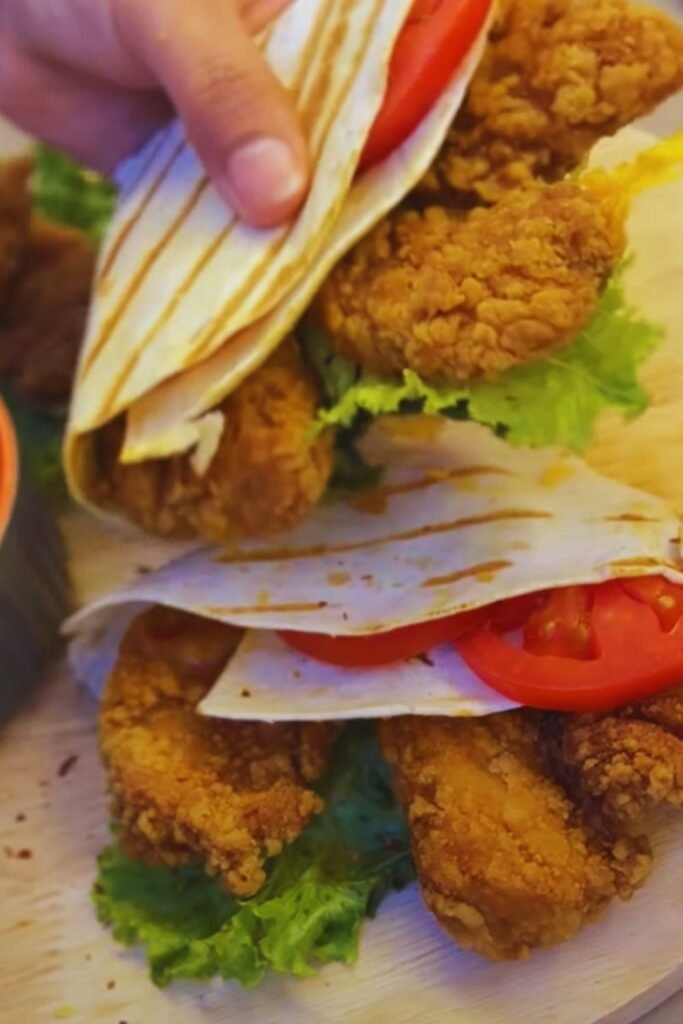
Assembling the Wraps
- Warm tortillas slightly to make them more pliable.
- Spread about 2 tablespoons of garlic sauce on each tortilla.
- Layer with spinach leaves, cooked chicken strips, cherry tomatoes, and red onion slices.
- Sprinkle generously with both mozzarella and cheddar cheese.
- Fold in the sides of the tortilla and roll tightly.
Final Cooking
- Heat a clean skillet or griddle over medium heat.
- Place wrapped tortillas seam-side down.
- Cook for 2-3 minutes per side until golden brown and cheese is melted.
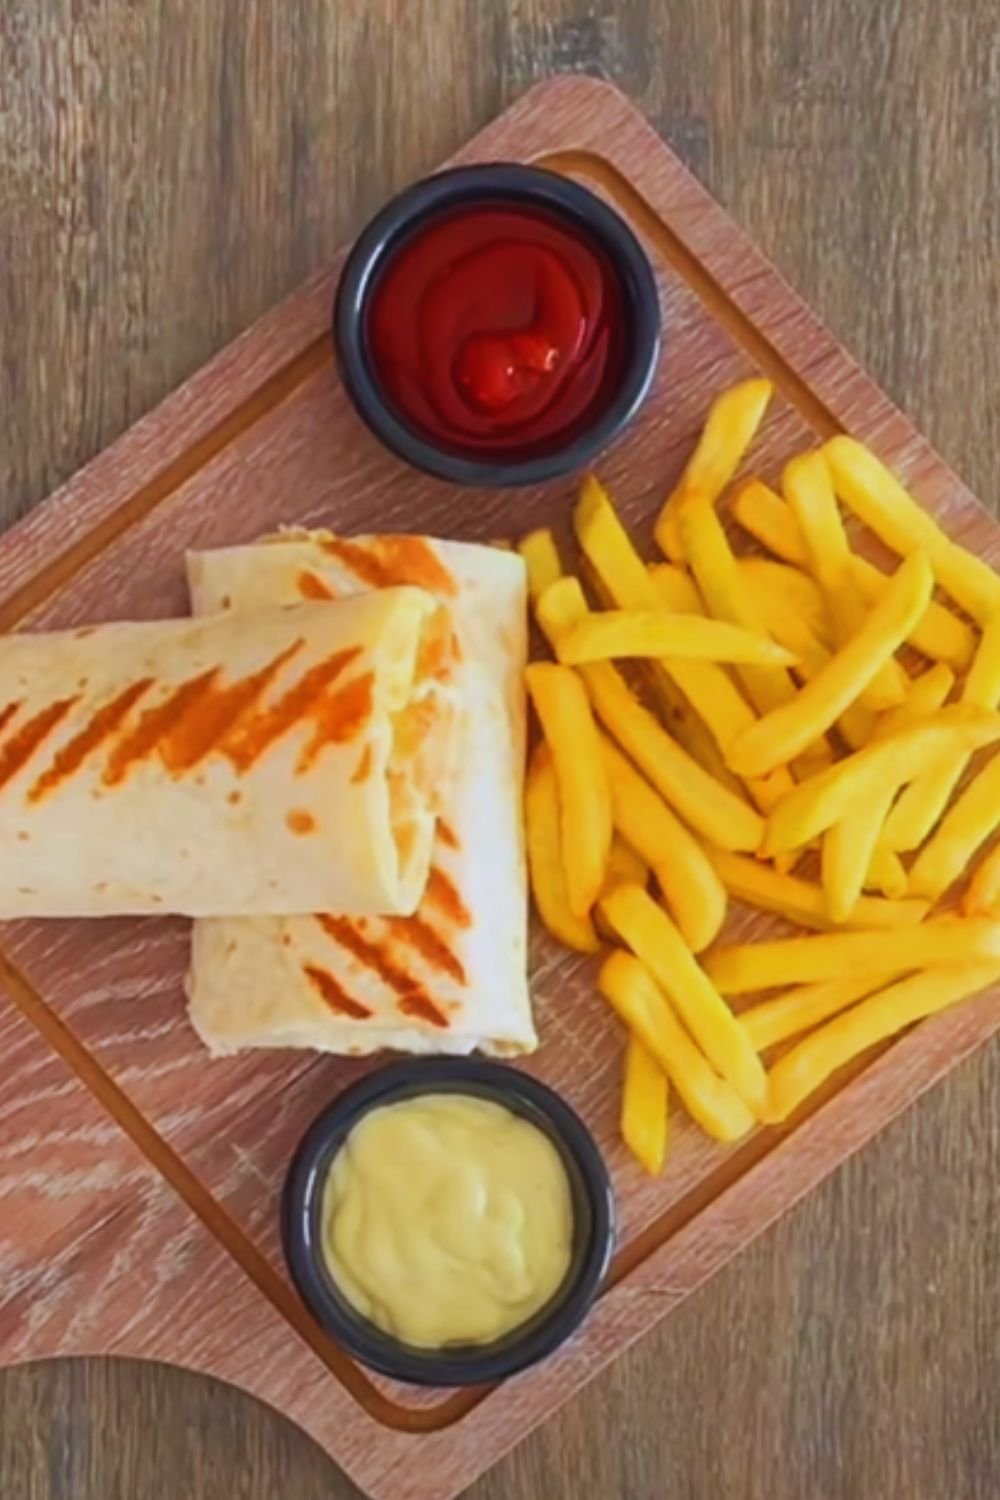
- Cut diagonally and serve immediately.

Pro Tips from My Kitchen
- Don’t skip marinating the chicken – this is where all the flavor develops
- Use freshly minced garlic instead of pre-minced for the best flavor
- Shred your own cheese rather than using pre-shredded for better melting
- If making ahead, keep the components separate and assemble just before cooking
- Press down gently on the wraps while cooking to ensure even browning
Common Mistakes to Avoid
- Overcrowding the pan when cooking chicken
- Using cold tortillas (they’ll crack when rolling)
- Adding too many wet ingredients (makes wraps soggy)
- Not sealing the wraps properly before grilling
- Setting heat too high when toasting the wraps
Storage and Reheating
- Store assembled (but not grilled) wraps: Wrap tightly in plastic wrap and refrigerate for up to 24 hours
- Store components separately: Keep in airtight containers in the refrigerator for up to 3 days
- Freezing: Not recommended as the texture of vegetables and sauce will change
- Reheating: Best in a skillet over medium-low heat or in a 350°F oven for 10-15 minutes
Serving Suggestions
- Fresh green salad with balsamic vinaigrette
- Sweet potato fries
- Roasted vegetables
- Cucumber and tomato salad
- Fresh fruit platter
- Homemade iced tea or lemonade
Variations to Try
- Mediterranean: Add olives, feta cheese, and sun-dried tomatoes
- Southwest: Include black beans, corn, and avocado
- Spicy: Add jalapeños and use pepper jack cheese
- Veggie-loaded: Double the vegetables and add bell peppers
- Low-carb: Use large lettuce leaves instead of tortillas
Frequently Asked Questions
Q: Can I make these wraps ahead of time?
A: Yes, you can prepare the components ahead of time, but I recommend assembling just before cooking for the best results.
Q: What’s the best type of tortilla to use?
A: I prefer large (10-inch) flour tortillas as they’re easier to wrap and hold ingredients better. Look for fresh, pliable ones.
Q: Can I use rotisserie chicken instead?
A: Absolutely! While the marinade adds great flavor, using rotisserie chicken is a fantastic time-saver. Just shred it and toss with some garlic and seasonings.
Q: How do I prevent my wraps from getting soggy?
A: Pat all vegetables dry before adding them to the wrap, and don’t oversaturate with sauce. Also, serve immediately after cooking.
Q: Can I make these vegetarian?
A: Yes! Replace the chicken with grilled portobello mushrooms, chickpeas, or your favorite meat alternative.
Recipe Quick Facts
| Detail | Information |
|---|---|
| Prep Time | 25 minutes |
| Cook Time | 20 minutes |
| Total Time | 45 minutes |
| Servings | 8 wraps |
| Difficulty | Medium |
| Cuisine | Fusion |
| Cost per serving | $3-4 |
Whether you’re looking for a quick weeknight dinner or planning to meal prep for the week ahead, these Cheesy Garlic Chicken Wraps are sure to become a favorite in your recipe collection. The combination of flavors and textures creates a satisfying meal that’s both comforting and nutritious. Give them a try, and don’t forget to get creative with your own variations!