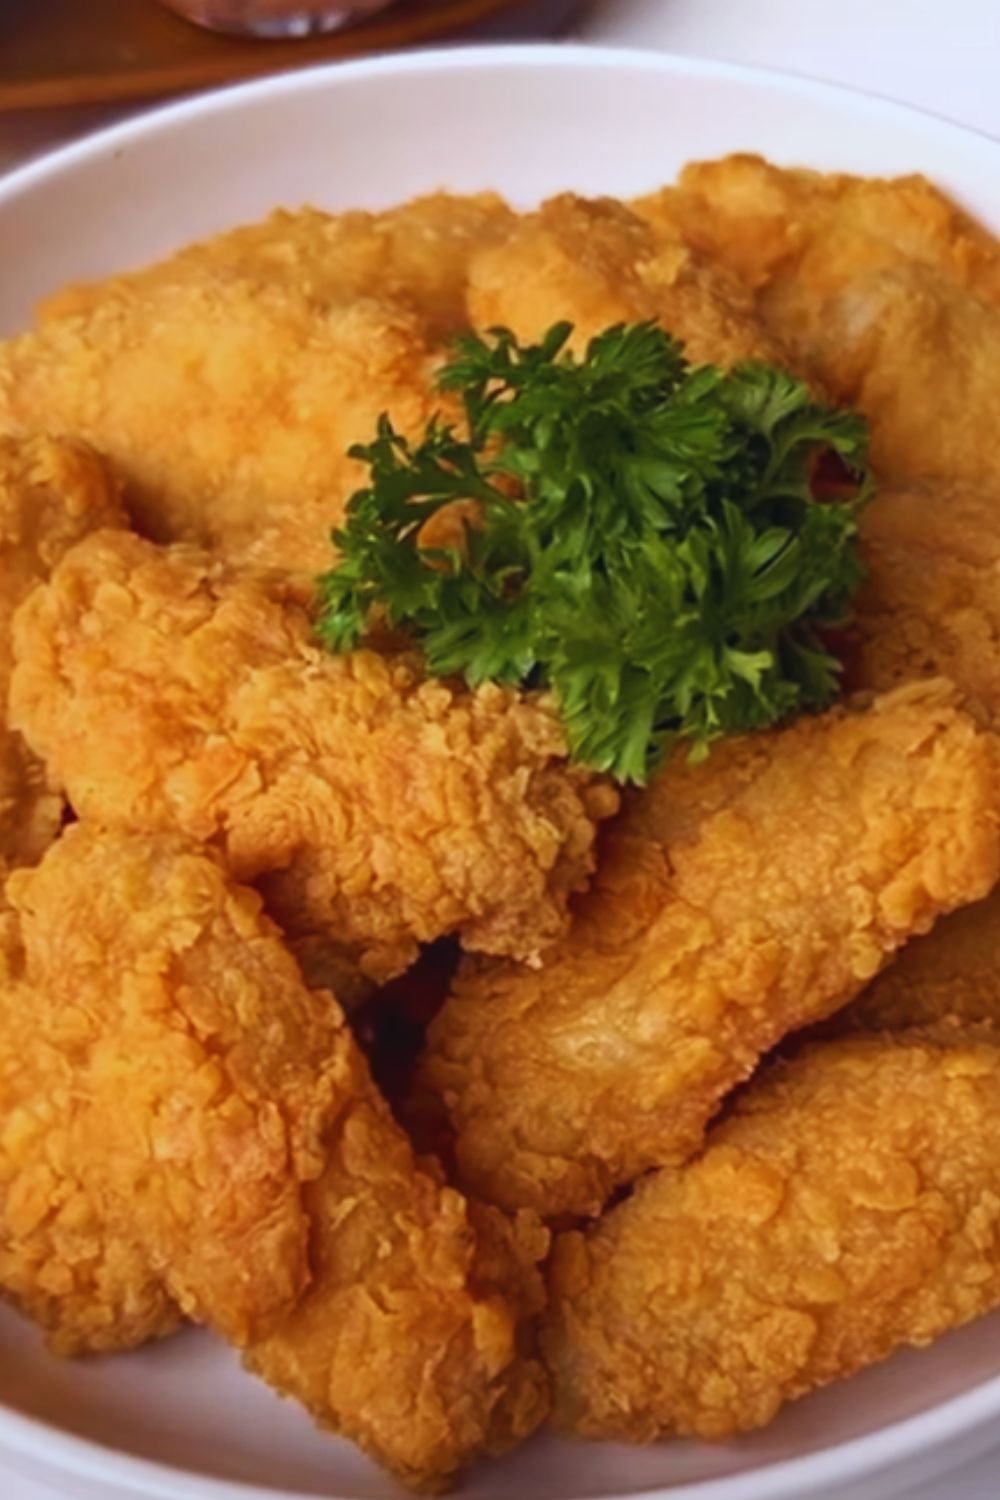
There’s something magical about biting into a perfectly crispy chicken wing. That satisfying crunch followed by tender, juicy meat is an experience that’s hard to beat. For years, I thought achieving that restaurant-quality crispiness was only possible with deep frying, but I was delightfully wrong. After countless tests and tweaks in my home kitchen, I’ve perfected the art of making incredibly crispy chicken wings in the oven.
Today, I’m sharing everything I’ve learned about creating wings that are not just “good for being baked” but genuinely crispy and delicious by any standard. This method produces wings that can proudly stand alongside their deep-fried counterparts, but with less mess, less oil, and more convenience.
Why This Recipe Works
Before diving into the method, let’s understand why these oven-baked wings get so wonderfully crispy:
- The Secret Ingredient: Baking powder (not baking soda!) is the game-changer. It raises the skin’s pH level, which helps break down proteins and creates that crispy texture we crave.
- The Two-Temperature Technique: Starting low and finishing high gives the fat time to render out before crisping the skin.
- Proper Air Circulation: Elevating the wings on a rack ensures heat surrounds them completely.
- Patience: A longer cooking time at a lower initial temperature is essential for rendering fat.
This isn’t just another chicken wing recipe—it’s a foolproof technique backed by food science that delivers restaurant-quality results right in your home kitchen.
Ingredients You’ll Need
For the basic crispy wings:
- 4 pounds chicken wings (about 40 pieces)
- 2 tablespoons aluminum-free baking powder (NOT baking soda)
- 1 teaspoon kosher salt
- ½ teaspoon freshly ground black pepper
- ½ teaspoon garlic powder (optional)
- ½ teaspoon onion powder (optional)
That’s it for the base recipe! The beauty of this method is its simplicity and versatility. Once you’ve mastered the crispy wing technique, you can dress them with virtually any sauce or seasoning you prefer.
Equipment Essentials
Having the right tools makes a significant difference:
- Wire Rack: A sturdy oven-safe cooling rack is crucial for air circulation
- Baking Sheet: A rimmed baking sheet catches drippings
- Paper Towels: For patting wings dry
- Mixing Bowls: For tossing wings with baking powder and seasonings
- Kitchen Tongs: For flipping and handling hot wings
- Meat Thermometer: Optional but helpful for ensuring doneness
The Science Behind Crispy Baked Wings
I’m fascinated by the food science that makes this recipe work. Let me explain what’s happening:
Baking powder contains alkaline sodium bicarbonate and acidic cream of tartar. When applied to chicken skin, it:
- Raises the skin’s pH level, breaking down proteins more efficiently
- Creates microscopic bubbles that increase surface area for crispiness
- Draws moisture to the surface, where it can evaporate
Meanwhile, the two-temperature cooking method:
- First renders fat slowly at a lower temperature (250°F)
- Then crisps the skin with higher heat (425°F)
This combination produces wings with a golden, crackly exterior and juicy interior without deep-frying.

Preparation Steps: Setting Up for Success
1. Prep the Wings
The foundation of great wings starts with proper preparation:
- If necessary, separate whole wings into flats and drumettes by cutting through the joint with a sharp knife
- Pat wings VERY dry with paper towels (this is crucial!)
- Allow wings to sit uncovered in the refrigerator for 1-3 hours or overnight for even drier skin (optional but recommended)
2. Seasoning Mixture
In a large bowl, combine:
- 2 tablespoons aluminum-free baking powder
- 1 teaspoon kosher salt
- ½ teaspoon black pepper
- Optional spices (garlic powder, onion powder, etc.)
Mix thoroughly to ensure even distribution of the baking powder.
3. Coating the Wings
This step requires a specific technique:
- Add dried wings to the bowl with the baking powder mixture
- Toss thoroughly until every wing is evenly coated with a thin, barely visible layer
- Do not add any oil at this stage – it will inhibit crisping
4. Setting Up for Baking
Proper arrangement is key:
- Line a large baking sheet with aluminum foil for easier cleanup
- Place an oven-safe wire rack on the baking sheet
- Arrange wings on the rack with about ½ inch between pieces to allow air circulation
- Let wings sit at room temperature for 30 minutes before baking (this helps them cook more evenly)
The Foolproof Baking Method
Now for the actual cooking process that ensures crispy perfection every time:
Step 1: Low and Slow
- Preheat your oven to 250°F (120°C)
- Place wings in the lower-middle position of your oven
- Bake for 30 minutes – this stage is rendering the fat from under the skin
Step 2: Flip and Continue
- After 30 minutes, flip each wing using tongs
- Continue baking at 250°F for another 15-20 minutes
Step 3: High Heat Finish
- Increase oven temperature to 425°F (220°C)
- Continue baking for 40-50 minutes, flipping wings every 15 minutes
- Wings are done when they’re deeply golden brown and the skin is very crispy
Step 4: Rest Briefly
- Remove from oven and let rest for 5 minutes
- This brief rest allows the juices to redistribute and the skin to get even crispier
Testing for Doneness
Wings should reach an internal temperature of 165°F (74°C) at minimum. Here are the signs of perfectly cooked wings:
- Golden brown color
- Crispy skin that crackles when touched
- Meat that easily pulls away from the bone
- Clear juices when pierced (no pinkness)
If you notice some wings browning faster than others, simply remove them earlier and keep warm while the rest finish cooking.

Sauce and Seasoning Options
The beauty of mastering crispy baked wings is the endless flavor possibilities. Here are some of my favorite ways to finish them:
Classic Buffalo
- ½ cup unsalted butter, melted
- ½ cup hot sauce (Frank’s RedHot is traditional)
- 1 tablespoon white vinegar
- ½ teaspoon garlic powder
- Salt to taste
Whisk all ingredients together and toss with hot wings.
Honey Garlic
- ⅓ cup honey
- 3 tablespoons soy sauce
- 3 cloves garlic, minced
- 1 tablespoon ginger, grated
- 1 tablespoon rice vinegar
- Red pepper flakes to taste
Simmer all ingredients in a small saucepan for 5 minutes until slightly thickened.
Lemon Pepper
- 2 tablespoons lemon zest
- 1 tablespoon freshly ground black pepper
- 1 teaspoon salt
- 1 teaspoon garlic powder
- 3 tablespoons melted butter
Mix dry ingredients, then toss wings with butter and sprinkle with the seasoning mix.
Korean-Inspired Gochujang
- 3 tablespoons gochujang paste
- 2 tablespoons honey or brown sugar
- 1 tablespoon rice vinegar
- 1 tablespoon sesame oil
- 1 tablespoon soy sauce
- 1 teaspoon minced garlic
- 1 teaspoon grated ginger
- Sesame seeds and sliced green onions for garnish
Whisk all sauce ingredients together and toss with wings.
Dry Rub Varieties
For those who prefer a dry finish rather than sauce, try these combinations:
| Dry Rub Style | Ingredients | Prep Method | Best Paired With |
|---|---|---|---|
| Cajun | 2 tsp paprika, 1 tsp salt, 1 tsp garlic powder, 1 tsp onion powder, 1 tsp oregano, ½ tsp thyme, ½ tsp black pepper, ¼ tsp cayenne | Mix all spices thoroughly | Ranch dressing or blue cheese |
| BBQ | 2 tsp brown sugar, 1 tsp smoked paprika, 1 tsp garlic powder, 1 tsp onion powder, ½ tsp salt, ½ tsp black pepper, ¼ tsp cumin | Rub onto wings before baking | BBQ sauce on the side |
| Lemon Herb | 1 tbsp lemon zest, 1 tsp dried rosemary, 1 tsp dried thyme, 1 tsp dried oregano, 1 tsp salt, ½ tsp black pepper | Sprinkle over wings with 2 tbsp olive oil | Garlic aioli |
| Five Spice | 2 tsp Chinese five spice, 1 tsp garlic powder, 1 tsp salt, ½ tsp white pepper | Mix with 1 tbsp neutral oil before applying | Sweet chili sauce |
Applying Sauces the Right Way
When and how you apply sauce matters:
- For Maximum Crispiness: Serve sauce on the side for dipping
- For Coated Wings: Toss hot wings in sauce just before serving
- For Glazed Wings: Apply a thick sauce during the last 5-10 minutes of cooking, then finish under the broiler for 1-2 minutes
Pro Tip: If tossing with sauce, return sauced wings to the oven for 2-3 minutes to set the sauce and maintain crispiness.
Nutritional Comparison: Baked vs. Fried
Many people choose baked wings for health reasons. Here’s how they compare:
| Nutrition Facts (per 4 wings) | Oven Baked Wings | Deep Fried Wings |
|---|---|---|
| Calories | 320 | 430 |
| Total Fat | 22g | 33g |
| Saturated Fat | 6g | 11g |
| Cholesterol | 125mg | 125mg |
| Sodium | 430mg | 510mg |
| Protein | 29g | 28g |
| Carbohydrates | 0g | 1g |
The significant reduction in fat content makes baked wings a better choice for those watching their calorie or fat intake.

Serving Suggestions
Perfect wings deserve perfect accompaniments:
Dipping Sauces
- Classic blue cheese dressing
- Ranch dressing
- Honey mustard
- Additional wing sauce
Side Dishes
- Crisp celery and carrot sticks
- Homemade potato wedges
- Creamy coleslaw
- Mac and cheese
- Fresh green salad with light vinaigrette
Drinks
- Sparkling water with lemon
- Iced tea
- Lemonade
- Ginger ale
- Cold brew coffee (surprisingly good with spicy wings!)
Make-Ahead and Storage Tips
Wings are perfect for meal prep and entertaining:
Make-Ahead Options
- Prep wings with baking powder mixture up to 24 hours ahead and store uncovered in the refrigerator
- Fully cook wings, cool completely, then refrigerate for up to 3 days
- Prepare sauces up to 5 days ahead and store in airtight containers
Reheating for Maximum Crispiness
Previously cooked wings can be revived to near-original crispiness:
- Preheat oven to 350°F (175°C)
- Place cold wings on a wire rack over a baking sheet
- Bake for 15-20 minutes until heated through and crispy
- Avoid microwave reheating, which will make wings soggy
Freezing Instructions
- Arrange cooked, cooled wings in a single layer on a baking sheet
- Freeze until solid (about 2 hours)
- Transfer to freezer bags or containers
- Freeze for up to 3 months
- Reheat from frozen at 375°F (190°C) for 25-30 minutes
Troubleshooting Common Issues
Even with this foolproof method, issues can arise. Here’s how to address them:
| Problem | Possible Cause | Solution |
|---|---|---|
| Wings aren’t crispy enough | Insufficient drying before baking | Pat wings extremely dry and consider overnight refrigerator drying |
| Too much baking powder | Use only about ½ teaspoon baking powder per pound of wings | |
| Overcrowded pan | Ensure wings aren’t touching during baking | |
| Wings too salty | Using baking soda instead of powder | Double-check you’re using aluminum-free baking powder |
| Too much salt in seasoning | Reduce added salt, especially if adding salty sauces later | |
| Skin sticking to the rack | Rack not prepared properly | Lightly spray rack with non-stick cooking spray before arranging wings |
| Uneven cooking | Oven hot spots | Rotate baking sheet halfway through cooking |
| Wings varying in size | Group similarly sized pieces together and remove smaller ones earlier |
Special Dietary Adaptations
These wings can be adapted for various dietary needs:
Gluten-Free Version
- Verify your baking powder is gluten-free (most are, but always check)
- Use gluten-free alternatives in your sauces (tamari instead of soy sauce, etc.)
Keto-Friendly
- This basic recipe is already keto-friendly
- For sauces, substitute honey or sugar with approved sweeteners like monk fruit or erythritol
Lower Sodium Option
- Reduce salt in the baking powder mixture
- Use low-sodium versions of sauce ingredients
- Increase herbs and spices to compensate for flavor
Q&A Section: Your Wing Questions Answered
Q: Can I use frozen chicken wings for this recipe? Yes, but for best results, thaw them completely first and pat very dry. Frozen wings can release more moisture during cooking, making it harder to achieve maximum crispiness.
Q: Why use baking powder instead of cornstarch or flour? Baking powder works chemically to break down proteins in the chicken skin and creates a better pH environment for browning and crisping. Cornstarch and flour simply absorb moisture but don’t create the same reaction.
Q: How do I prevent my wings from being too salty? Make sure you’re using baking POWDER, not baking SODA. Also, use aluminum-free baking powder if possible, as regular baking powder can sometimes impart a metallic taste. Adjust the added salt based on what sauce you’ll be using later.
Q: Can I make these wings in an air fryer? Absolutely! Prepare them with the baking powder mixture as directed, then cook at 380°F for about 25 minutes, flipping halfway through. Finish at 400°F for the last 5 minutes for extra crispiness.
Q: Why start at a low temperature instead of just cooking them hot the whole time? The low-temperature first stage allows the fat to render slowly from beneath the skin without burning the exterior. This creates a better foundation for the high-heat crisping stage.
Q: My wings turned out dry. What went wrong? Wings may have been overcooked or were too small. Use a meat thermometer and aim for 165°F internal temperature. Also, wings with skin and some fat are essential for juiciness—avoid using skinless wings for this method.
Q: How do I keep wings crispy when serving at a party? Keep them in a 200°F oven on a wire rack until serving time. For potlucks or game day gatherings, transport them without sauce and bring sauce separately to toss just before serving.
Q: Can I use this same method for chicken drumsticks or thighs? Yes, though cooking times will need adjusting. Drumsticks typically need about 15-20 minutes longer than wings, and thighs may need 25-30 minutes more. Always cook to a safe internal temperature of 165°F.
Final Tips for Wing Perfection
After years of wing experimentation, I’ve learned a few extra tricks:
- Size matters—medium wings crisp more evenly than jumbo ones
- Fresh wings generally crisp better than previously frozen ones
- Allow wings to come to room temperature for 30 minutes before baking for more even cooking
- Don’t rush the process—proper rendering at low temperature is essential
- If you’re not getting enough browning, finish with 2-3 minutes under the broiler (watch carefully!)
The journey to perfect baked wings takes patience, but the results are absolutely worth it. Once you master this technique, you might never go back to deep-fried wings again. These crispy oven-baked wings deliver all the satisfaction without the mess and extra calories of traditional frying.
Whether you’re preparing for game day, hosting a party, or just treating yourself to a special dinner, these wings are sure to impress. Happy cooking!