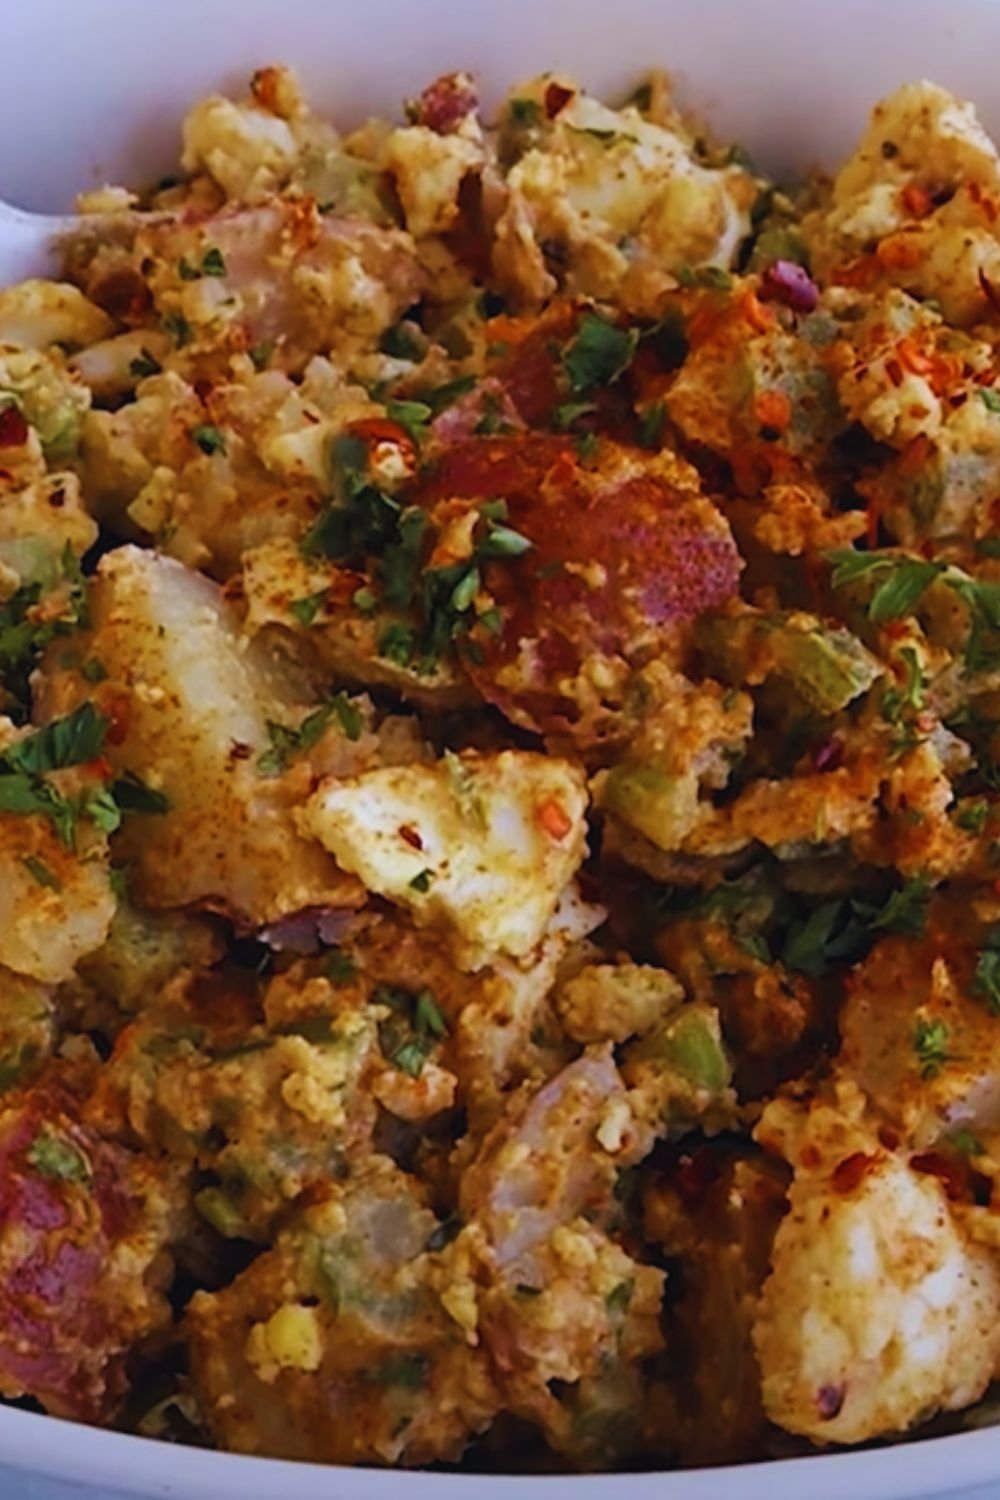
As a professional chef who’s been perfecting potato recipes for over a decade, I’m thrilled to share my ultimate crispy smashed potato salad recipe with you. This isn’t your grandmother’s potato salad – it’s a modern twist that combines the irresistible crunch of perfectly roasted potatoes with a creamy, herb-infused dressing that will have your guests begging for the recipe.
Why You’ll Love This Recipe
I discovered this unique preparation method during a cooking workshop in Copenhagen, and it completely changed my approach to potato salads. Instead of the traditional boiled potatoes, we’re going to smash and roast them until they’re golden and crispy on the outside while maintaining a creamy interior. The contrast of textures makes this dish absolutely unforgettable.
Essential Ingredients
For the Potatoes:
- 2 pounds baby Yukon Gold potatoes (about 20-24 small potatoes)
- 3 tablespoons extra virgin olive oil
- 1½ teaspoons sea salt
- 1 teaspoon freshly ground black pepper
- 2 cloves garlic, finely minced
- 1 tablespoon fresh rosemary, chopped
For the Creamy Herb Dressing:
- ¾ cup high-quality mayonnaise
- ¼ cup Greek yogurt
- 2 tablespoons Dijon mustard
- 1 tablespoon apple cider vinegar
- 3 tablespoons fresh chives, finely chopped
- 2 tablespoons fresh dill, chopped
- 1 tablespoon fresh parsley, chopped
- ½ teaspoon celery seeds
- Salt and pepper to taste
Additional Mix-ins:
- 3 celery stalks, finely diced
- ½ red onion, finely chopped
- 2 pickle spears, diced
- 3 hard-boiled eggs, roughly chopped
Nutritional Information
| Nutrient | Amount per Serving |
|---|---|
| Calories | 285 |
| Protein | 6g |
| Carbohydrates | 28g |
| Fat | 18g |
| Fiber | 3g |
| Sodium | 485mg |
| Sugar | 2g |
Serving size: 1 cup (approximately 180g)
Kitchen Equipment Needed
- Large baking sheet
- Parchment paper
- Large pot for boiling
- Potato masher or flat-bottomed glass
- Mixing bowls
- Sharp knife
- Cutting board
- Measuring spoons and cups
- Wooden spoon
- Kitchen timer
Step-by-Step Instructions
Phase 1: Preparing the Potatoes
- Wash your potatoes thoroughly and place them in a large pot.
- Cover with cold water and add 1 tablespoon of salt.
- Bring to a boil over high heat, then reduce to medium.
- Cook for 15-20 minutes until fork-tender but not falling apart.
- Drain carefully and let steam dry for 5 minutes.
Phase 2: The Smashing Technique

- Preheat your oven to 425°F (220°C).
- Line your baking sheet with parchment paper.
- Place the cooled potatoes on the baking sheet.
- Using a potato masher or flat-bottomed glass:
- Gently press each potato to about ½-inch thickness
- Apply even pressure to ensure consistent thickness
- Leave some texture on top for maximum crispiness
Phase 3: Seasoning and Roasting
- Drizzle olive oil over the smashed potatoes.
- Sprinkle with:
- Sea salt
- Black pepper
- Minced garlic
- Chopped rosemary
- Roast for 35-40 minutes, flipping halfway through.
- Look for golden-brown edges and crispy surfaces.
Phase 4: Preparing the Dressing
While the potatoes are roasting:
- In a large bowl, whisk together:
- Mayonnaise
- Greek yogurt
- Dijon mustard
- Apple cider vinegar
- Add all fresh herbs and celery seeds.
- Season with salt and pepper to taste.
- Refrigerate until needed.
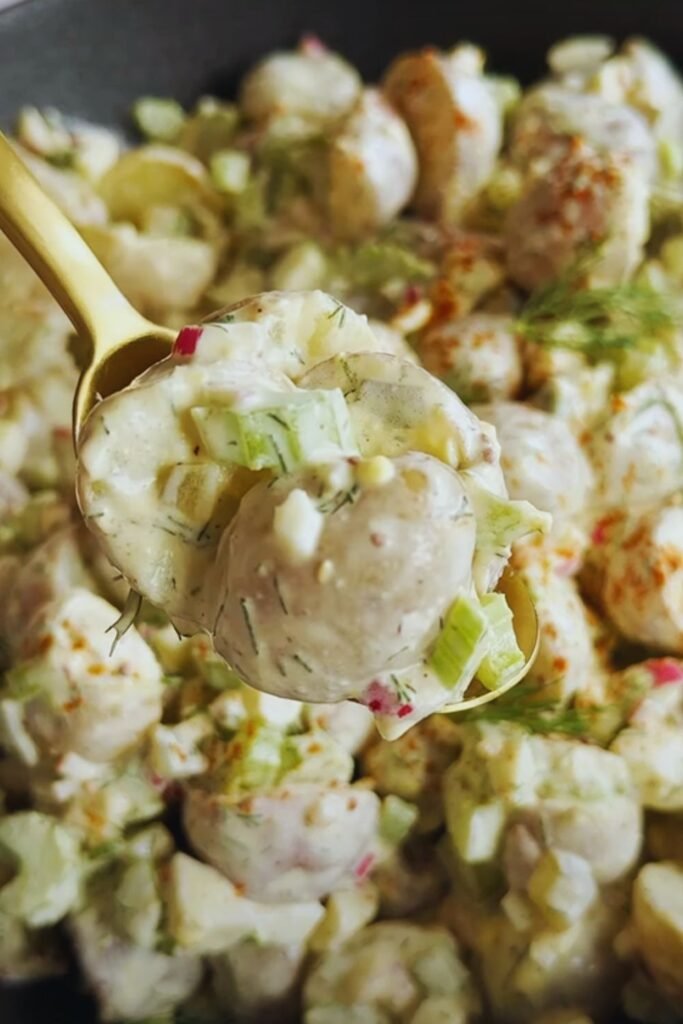
Phase 5: Assembly

- Let roasted potatoes cool for 15 minutes.
- In a large bowl, combine:
- Crispy potatoes
- Diced celery
- Chopped red onion
- Diced pickles
- Chopped eggs
- Pour the dressing over the ingredients.
- Fold gently to combine, avoiding breaking the potatoes.
- Taste and adjust seasoning if needed.
Pro Tips From My Kitchen
- Select potatoes of similar size for even cooking
- Don’t skip the steam-dry step after boiling
- Make sure potatoes are completely cool before adding dressing
- Prepare the dressing a day ahead for better flavor development
- Save some fresh herbs for garnishing
- Season generously at each step
Make-Ahead and Storage Guidelines
- Boiled potatoes can be prepared 1 day ahead
- Dressing stays fresh for up to 3 days when refrigerated
- Assembled salad is best consumed within 24 hours
- Store in an airtight container in the refrigerator
- Do not freeze
Serving Suggestions
- Perfect alongside grilled meats
- Excellent for summer barbecues
- Great addition to picnic spreads
- Pairs wonderfully with:
- Grilled chicken
- Roasted vegetables
- Fresh green salads
- Sandwich platters
Common Questions & Answers
Q: Can I use different types of potatoes?
A: Yes, but waxy potatoes like Yukon Gold or red potatoes work best as they hold their shape better than starchy varieties.
Q: How do I prevent the potatoes from sticking to the masher?
A: Lightly oil your masher or glass before smashing each potato.
Q: Can I make this recipe vegan?
A: Absolutely! Replace mayonnaise and Greek yogurt with vegan alternatives. The crispy potatoes are naturally vegan.
Q: Why did my potatoes not get crispy?
A: This usually happens if the potatoes are too wet before roasting or if the oven temperature isn’t hot enough. Make sure to steam dry them well and verify your oven temperature.
Q: How long can I keep the potato salad at room temperature?
A: For food safety, don’t leave it out for more than 2 hours, or 1 hour if the temperature is above 90°F (32°C).
Recipe Variations
Mediterranean Style
- Add Kalamata olives
- Mix in sundried tomatoes
- Include crumbled feta cheese
- Use oregano instead of dill
Loaded Baked Potato Version
- Top with shredded cheddar
- Add crispy bacon bits
- Include sliced green onions
- Serve with a dollop of sour cream
Herbed Garden Fresh
- Double the fresh herbs
- Add cherry tomatoes
- Include blanched green beans
- Mix in fresh corn kernels
Troubleshooting Common Issues
- Soggy Potatoes
- Solution: Ensure thorough steam drying
- Increase oven temperature if needed
- Don’t overcrowd the baking sheet
- Breaking Potatoes
- Solution: Don’t over-boil initially
- Handle gently when mixing
- Use proper smashing technique
- Bland Flavor
- Solution: Season at every step
- Don’t skimp on herbs
- Adjust salt and pepper to taste
- Watery Dressing
- Solution: Strain yogurt if needed
- Use full-fat products
- Mix dressing ingredients thoroughly
Remember, the key to this recipe’s success lies in achieving that perfect contrast between crispy exterior and creamy interior. Don’t rush the process – each step contributes to the final result. I’d love to hear how this recipe turns out in your kitchen!

