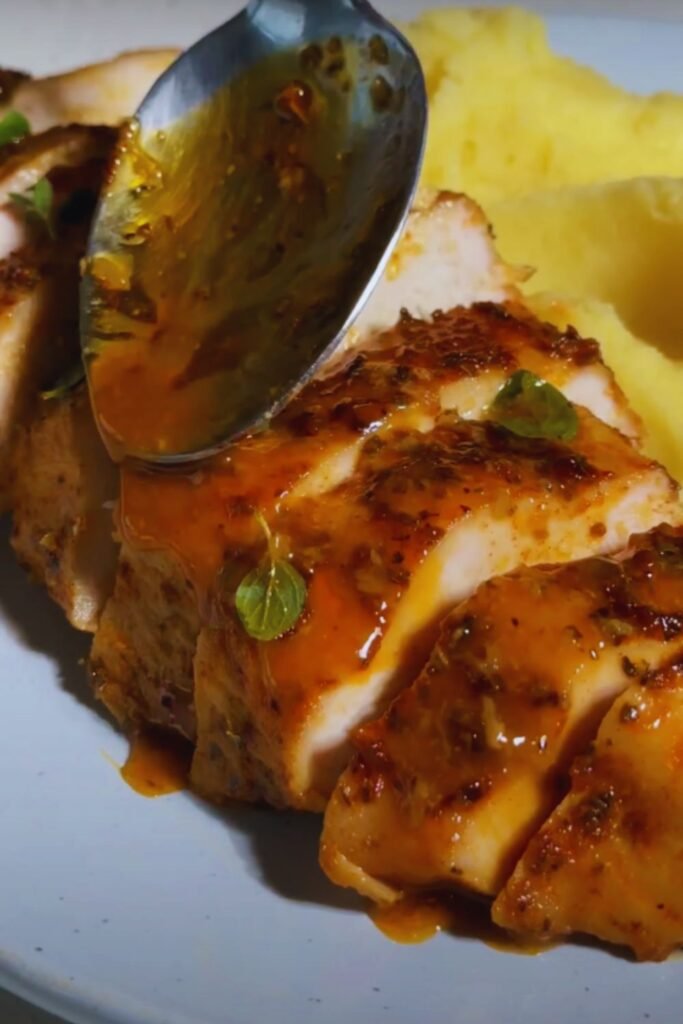
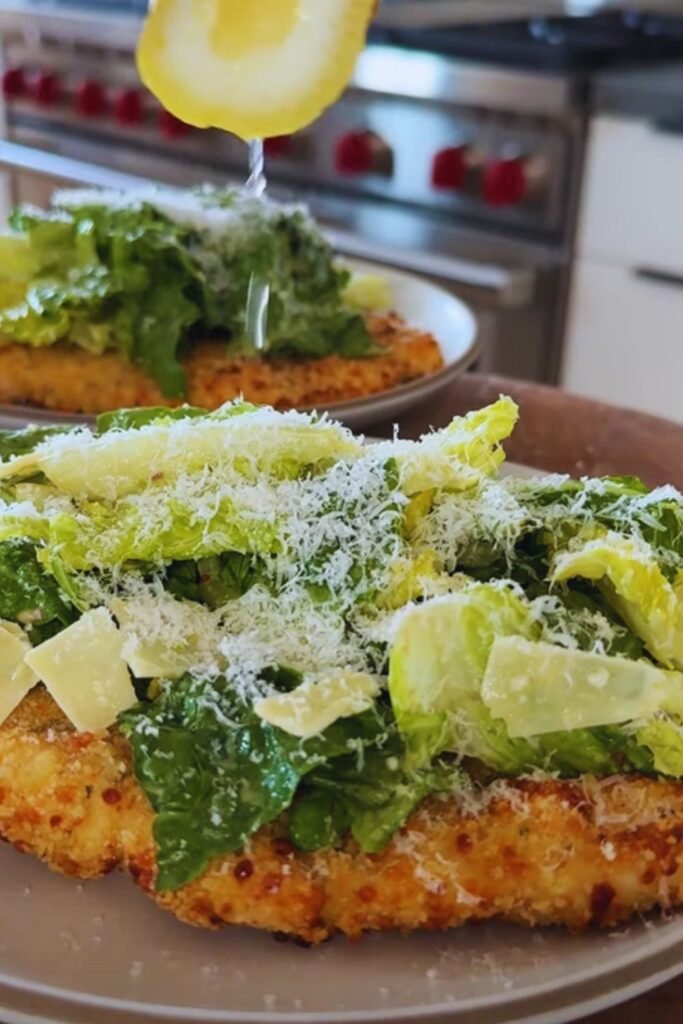
There’s something magical about a perfectly cooked chicken dinner that brings comfort and satisfaction to the table. As someone who’s been cooking for my family for over a decade, I’ve experimented with countless chicken recipes, but this Melt In Your Mouth Caesar Chicken has become our absolute favorite. The combination of creamy Caesar dressing, Parmesan cheese, and perfectly seasoned chicken creates a dish that’s both elegant and approachable.
I first discovered this recipe during a dinner party at my friend’s house. After one bite, I was immediately hooked and begged for the recipe. Since then, I’ve refined it over dozens of iterations, adjusting seasonings and cooking techniques until achieving this perfect version I’m excited to share with you today.
Why You’ll Love This Recipe
When I talk about melt-in-your-mouth chicken, I’m not exaggerating. This dish delivers:
- Incredibly tender chicken that cuts with just a fork
- A creamy, flavorful sauce that infuses every bite
- Simple ingredients you likely already have on hand
- A quick prep time (under 15 minutes) before it goes in the oven
- Versatility to pair with numerous side dishes
- Restaurant-quality results without complicated techniques
The Caesar flavor profile elevates this dish beyond typical chicken recipes, while the creamy texture creates a luxurious eating experience that feels indulgent but is actually quite simple to prepare.
Ingredients You’ll Need
I believe quality ingredients make all the difference in this recipe. Here’s what you’ll need to gather:
| Ingredient | Amount | Notes |
|---|---|---|
| Boneless, skinless chicken breasts | 4 (about 2 pounds) | Even thickness is ideal |
| Caesar dressing | 1 cup | Use refrigerated, high-quality dressing |
| Parmesan cheese | 1 cup, freshly grated | Pre-grated won’t melt as well |
| Garlic powder | 2 teaspoons | Adds depth without raw garlic bite |
| Italian seasoning | 1 tablespoon | Use a blend without salt |
| Panko breadcrumbs | ½ cup | For the perfect crispy topping |
| Fresh parsley | ¼ cup, chopped | For garnish |
| Lemon | 1, cut into wedges | For serving |
| Salt | 1 teaspoon | Kosher salt preferred |
| Black pepper | ½ teaspoon | Freshly ground |
| Olive oil | 2 tablespoons | For searing the chicken |
I prefer using organic chicken whenever possible, as I find the flavor and texture superior. Also, spending a few extra dollars on a high-quality Caesar dressing really elevates this dish – I like refrigerated versions found in the produce section rather than shelf-stable varieties.
Essential Equipment
My kitchen experience has taught me having the right tools makes cooking so much more enjoyable:
- 9×13 baking dish (glass or ceramic works best)
- Large skillet for searing
- Meat thermometer
- Mixing bowls (small and medium)
- Sharp chef’s knife
- Cutting board
- Measuring cups and spoons
- Cheese grater (if using block Parmesan)
Step-by-Step Preparation
Preparing the Chicken
- Preheat your oven to 375°F (190°C). This temperature provides the perfect balance of quick cooking while keeping the chicken moist.
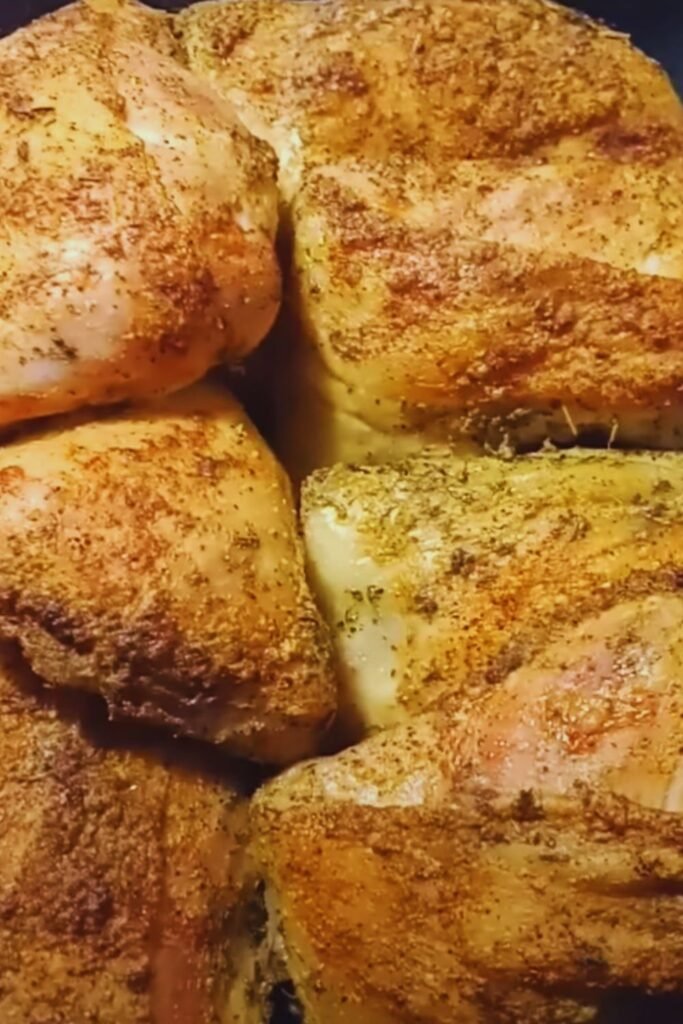
- Pat the chicken breasts dry with paper towels. This crucial step ensures a good sear.
- Season both sides of the chicken with salt and pepper.
- Heat olive oil in a large skillet over medium-high heat until shimmering.
- Sear the chicken for 2-3 minutes per side until golden brown. Don’t worry about cooking it through – we just want color and flavor development.
- Transfer the seared chicken to your baking dish, arranging them in a single layer.
Creating the Caesar Topping
- In a medium bowl, combine the Caesar dressing, ¾ cup of the Parmesan cheese (reserve the rest for topping), garlic powder, and Italian seasoning.
- Whisk until all ingredients are thoroughly incorporated. The mixture should be thick but pourable.
- Pour the Caesar mixture evenly over the chicken breasts, ensuring each piece is well-coated.
Adding the Crispy Topping
- In a small bowl, mix the remaining ¼ cup Parmesan with the panko breadcrumbs.
- Sprinkle this mixture evenly over the Caesar-coated chicken.
- Lightly spray or drizzle the top with a bit of olive oil to help it brown.
Baking to Perfection
- Cover the baking dish with aluminum foil. This traps moisture and helps keep the chicken tender.
- Bake covered for 20 minutes at 375°F.
- Remove the foil and bake for an additional 10-15 minutes until:
- The chicken reaches an internal temperature of 165°F (74°C)
- The topping is golden brown and crispy
- The sauce is bubbling around the edges
I’ve found that letting the dish rest for 5-10 minutes after removing it from the oven allows the juices to redistribute, making the chicken even more tender.
My Expert Tips for Success
After making this recipe countless times, I’ve discovered several techniques that elevate it from good to exceptional:
- Temperature matters: Allow your chicken to sit at room temperature for 15-20 minutes before cooking. Cold chicken straight from the refrigerator won’t sear as effectively.
- Don’t skip the sear: This step adds tremendous flavor through the Maillard reaction (that beautiful browning process).
- Check for even thickness: Pound chicken breasts to even thickness if they’re significantly thicker in some parts to ensure even cooking.
- Rest before serving: This allows juices to redistribute throughout the meat rather than running out when cut.
- Quality cheese makes a difference: Using freshly grated Parmesan rather than pre-packaged provides better melting and flavor.
- Add vegetables: For a one-pan meal, add cherry tomatoes and asparagus around the chicken during the last 10 minutes of baking.
I once made the mistake of using a shelf-stable Caesar dressing, and while the result was still edible, it lacked the rich, complex flavor that makes this dish special. The refrigerated version contains real cheese and egg, creating a more authentic Caesar flavor.
Watch for These Common Mistakes
In my years of perfecting this recipe, I’ve encountered a few pitfalls worth avoiding:
- Overcooking: Dry chicken is disappointing. Use a meat thermometer and remove the chicken when it hits 165°F.
- Under-seasoning: Don’t rely solely on the Caesar dressing for flavor. Proper seasoning with salt and pepper is essential.
- Skipping the sear: This step develops crucial flavor compounds.
- Using cold ingredients: Allow refrigerated ingredients to come closer to room temperature for more even cooking.
- Cutting immediately: Let the chicken rest before serving to retain juiciness.
Nutritional Information
For those keeping track of their nutritional intake, here’s a breakdown per serving (assumes 4 servings):
| Nutrient | Amount per Serving |
|---|---|
| Calories | 425 |
| Protein | 38g |
| Carbohydrates | 5g |
| Fat | 28g |
| Saturated Fat | 6g |
| Sodium | 720mg |
| Fiber | 0.5g |
| Sugar | 1g |
| Calcium | 220mg |
| Iron | 1.5mg |
Perfect Pairings: Serving Suggestions
I love creating complete meals around this Caesar chicken. Here are my favorite pairings:
Side Dishes
- Roasted garlic mashed potatoes
- Steamed asparagus with lemon
- Caesar salad (yes, double the Caesar flavor!)
- Lemon parmesan risotto
- Roasted Brussels sprouts with balsamic glaze
- Garlic bread or crusty Italian bread
- Mediterranean orzo salad
For a Complete Meal Experience
One of my favorite dinner party menus centers around this chicken:
- Start with a light cucumber and tomato salad
- Serve the Caesar chicken with roasted garlic mashed potatoes and steamed green beans
- Finish with lemon sorbet for a refreshing palate cleanser
Variations to Try
While the classic recipe is divine, I enjoy these creative variations:
Mediterranean Caesar Chicken
Add kalamata olives, roasted red peppers, and artichoke hearts to the baking dish. Top with crumbled feta alongside the Parmesan before baking.
Spicy Caesar Chicken
Add 1 teaspoon of red pepper flakes and 1 tablespoon of hot sauce to the Caesar mixture for a pleasant kick.
Herb-Garden Caesar Chicken
Mix 2 tablespoons each of fresh chopped basil, oregano, and thyme into the Caesar mixture for a garden-fresh flavor profile.
Make-Ahead and Storage Tips
I often prepare components of this dish ahead of time when expecting guests:
Make-Ahead Options:
- Sear the chicken up to 1 day ahead, refrigerate, then continue with the recipe when ready to bake
- Mix the Caesar topping up to 2 days ahead and store in an airtight container
- Completely assemble the dish (without baking) up to 4 hours ahead, refrigerate, then bake when ready (may need 5-10 minutes additional baking time)
Storage Guidelines:
- Refrigerator: Store leftovers in an airtight container for up to 3 days
- Freezer: Freeze cooked portions in freezer-safe containers for up to 2 months
- Reheating: For best results, reheat in a 325°F oven covered with foil until warmed through (about 15 minutes)
My Personal Experience
I’ll never forget serving this dish at my sister’s birthday dinner. Everyone went completely silent after the first bite – that wonderful quiet that happens when people are truly enjoying their food. My brother-in-law, who typically prefers beef, requested the recipe before dessert was even served!
What makes this recipe special to me is how it transforms ordinary chicken into something extraordinary without requiring advanced culinary skills. I’ve taught this recipe to friends who claim they “can’t cook,” and they’ve all had success with it.
One winter evening, when we were snowed in, I had to improvise with ingredients on hand. I only had shelf-stable Caesar dressing and dried herbs, and while it wasn’t quite the same, it was still delicious. This taught me that while high-quality ingredients elevate the dish, the core technique makes it forgiving enough for substitutions.
Frequently Asked Questions
After sharing this recipe with friends and family, these are the questions I’m most commonly asked:
Q: Can I use chicken thighs instead of breasts?
Absolutely! Boneless, skinless chicken thighs work beautifully in this recipe. They’re naturally more moist but will need slightly longer cooking time – about 5-7 minutes more.
Q: Is there a way to make this recipe lighter/healthier?
Yes, use light Caesar dressing and reduce the Parmesan by half. You can also use whole wheat panko for added fiber.
Q: My topping isn’t getting crispy. What am I doing wrong?
Make sure your oven is fully preheated and remove the foil for the final 10-15 minutes of baking. If needed, you can also broil for 1-2 minutes at the end, watching carefully to prevent burning.
Q: Can I add vegetables to make this a one-pan meal?
Definitely! Add quick-cooking vegetables like cherry tomatoes, asparagus, or zucchini during the last 10-15 minutes of baking. For heartier vegetables like broccoli or cauliflower, add them when you remove the foil.
Q: What if I don’t have a meat thermometer?
While I strongly recommend using one for perfect results, you can cut into the thickest part of the chicken – it should be completely white with clear juices.
Q: Can I prepare this in a slow cooker?
This recipe is best made in the oven to achieve the crispy topping. If using a slow cooker, cook on low for 3-4 hours, then transfer to a baking dish, add the topping, and broil for 2-3 minutes to crisp.
Q: My sauce separated and looks curdled. Is it ruined?
Not at all! This sometimes happens with dairy-based sauces when baked. Simply stir the sauce before serving – it will still taste delicious.
A Final Note
Creating memorable meals doesn’t always require complicated techniques or exotic ingredients. This Melt In Your Mouth Caesar Chicken proves that a few quality ingredients, treated with care, can create something truly special.
I hope this recipe brings as much joy to your table as it has to mine. Remember that cooking is as much about the experience as the end result – take a moment to enjoy the aromas filling your kitchen, the sizzle of chicken hitting a hot pan, and ultimately, the satisfaction of watching your loved ones savor each bite.
If you try this recipe, I’d love to hear about your experience and any creative variations you discover along the way. Happy cooking!